Creating interactive podcast transcripts
So, I’m currently going through my podcast websites and adding interactive transcripts to the episode pages. Here’s what a transcript looks like on the page for Episode 19 of The Second Great and Bountiful Human Empire.
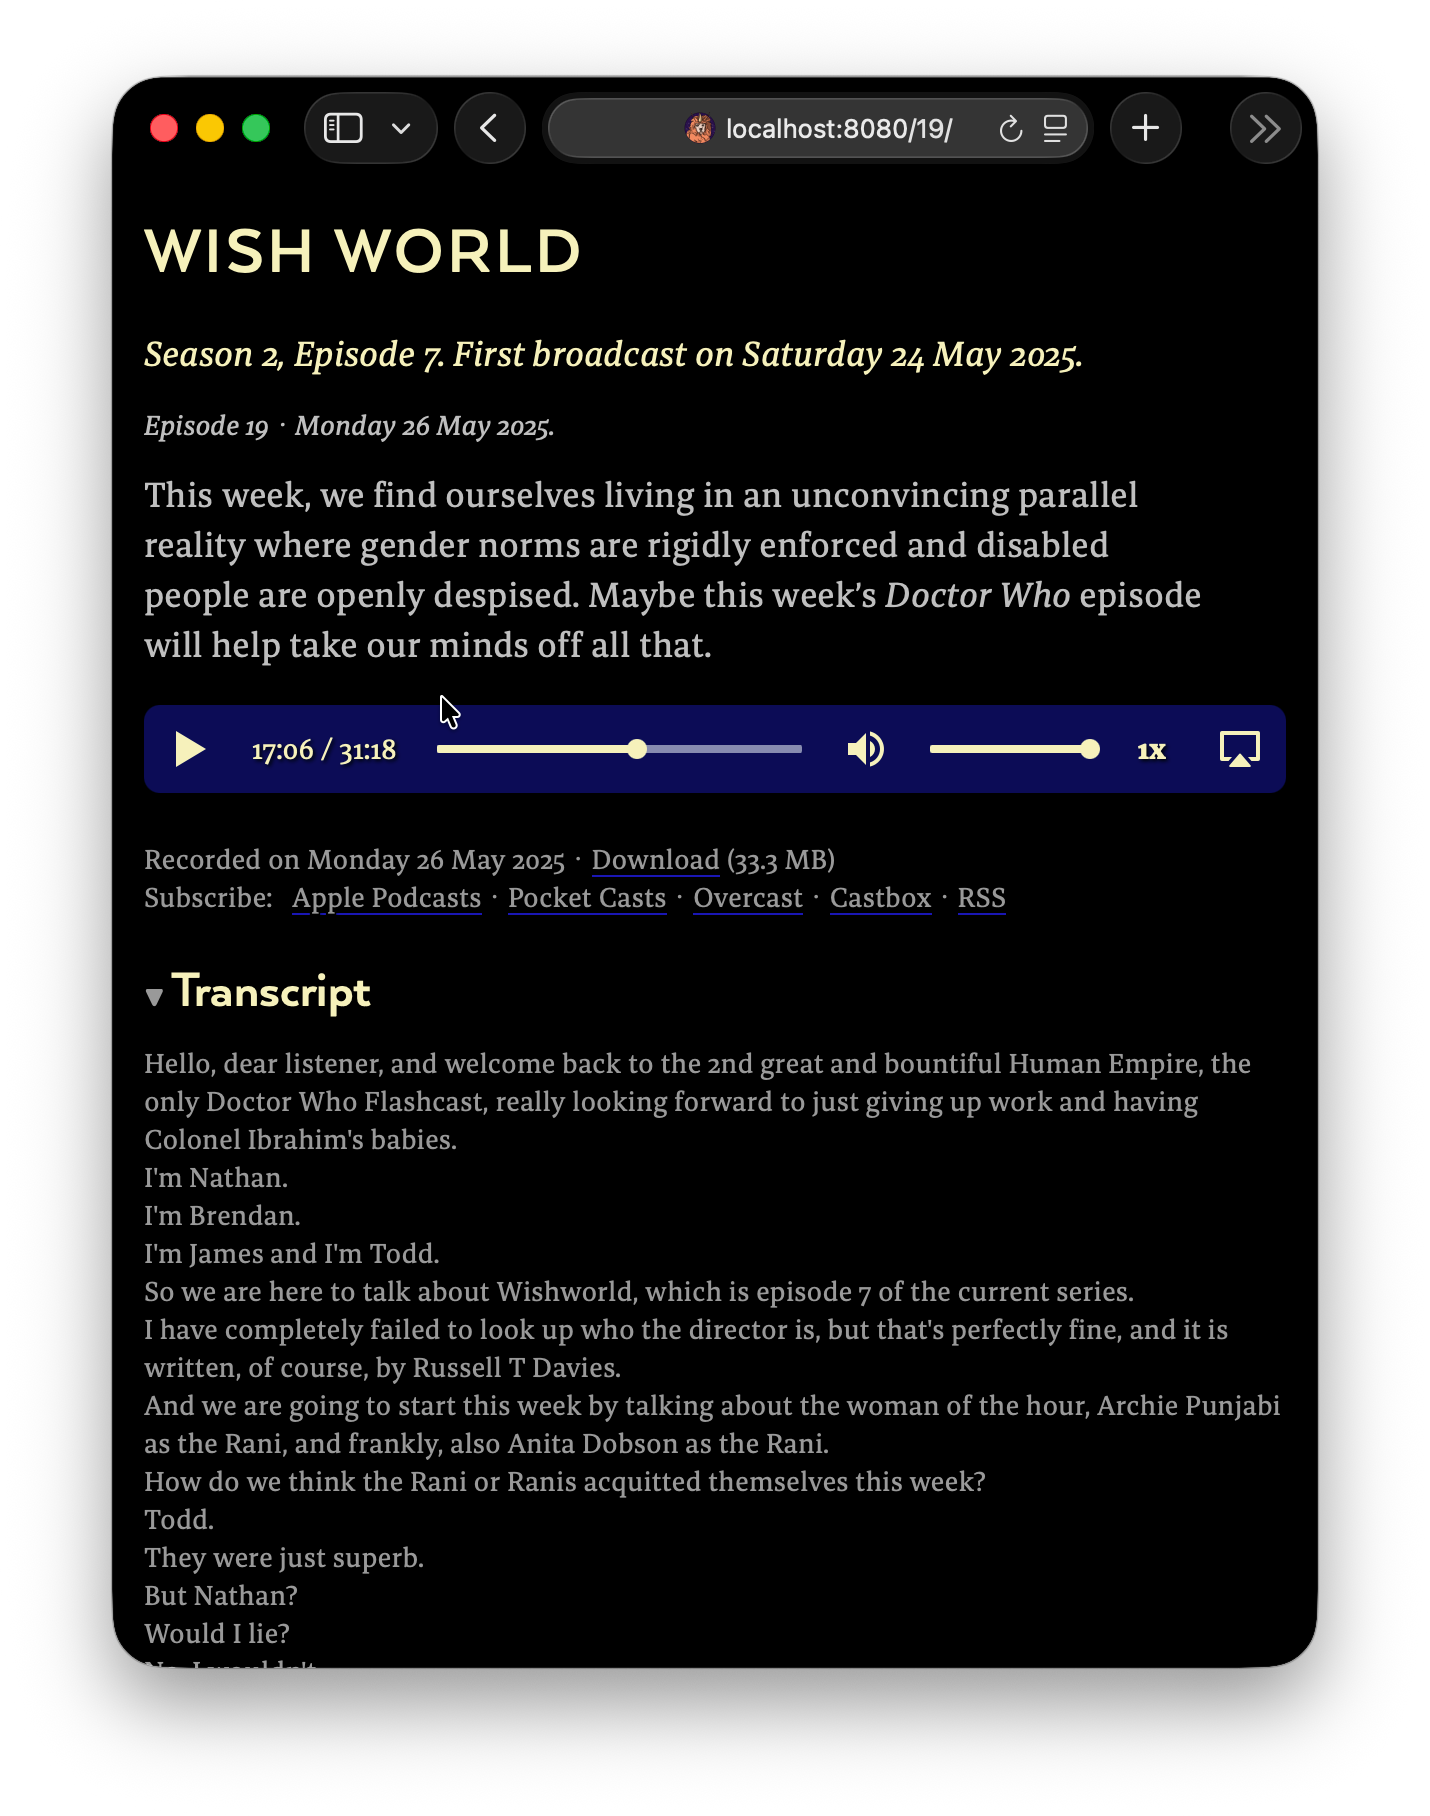
This transcript is interactive because it’s linked to the audio player on the page. If you click on the transcript, the audio starts playing from that point. And as the audio plays, the transcript highlights the phrase that you’re currently hearing, like the song lyrics in Spotify or Apple Music.
Let’s go through the implementation process together.
Transcribing the podcasts
First we have to get the podcast episodes transcribed.
What made me think I could even attempt this was the inclusion of the SpeechTranscriber class in macOS Tahoe, which I first heard about on Episode 684 of Accidental Tech Podcast. In that episode, Marco Arment explains how he uses SpeechTranscriber to transcribe all of the world’s podcasts for his Overcast podcast player.
Here’s a command-line tool that uses SpeechTranscriber: it’s called yap. We can use its transcribe command to transcribe a single podcast episode:
yap transcribe --vtt -m 65 -o transcripts/2gab-ep19-transcript.vtt "2GAB 19, Wish World.mp3"The --vtt option tells yap to output a VTT file, which is a format used on the web for subtitle files and other timed text tracks. The -m 65 option sets the phrase length to 65 characters. The -o option specifies the output file path.
It’s pretty fast. Even on my aging M1 MacBook Air, it takes about two minutes to transcribe a 60-minute episode.
Here’s the start of the VTT file:
WEBVTT

NOTE
This transcript was created on 2026-05-02 at 15:31:12

1
00:00:00.000 --> 00:00:03.180
Hello, dear listener, and welcome back to the 2nd great and

2
00:00:03.180 --> 00:00:06.660
bountiful Human Empire, the only Doctor Who Flashcast, really

3
00:00:06.660 --> 00:00:09.839
looking forward to just giving up work and having Colonel

4
00:00:09.839 --> 00:00:11.279
Ibrahim's babies.
You can see that this transcript includes the text of the episode divided up into short phrases, and that each of these phrases has a start and end timestamp. We’re going to call these phrases cues.
So now we can create a simple script that goes through the episode-files directory of our podcast project and transcribes each episode using yap, saving the transcript in the src/transcripts directory. It extracts the episode number from the episode filename and uses it to construct a filename for the transcript.
import { readdirSync, existsSync } from 'fs'
import { execFileSync } from 'node:child_process'

const EPISODES_DIR = './src/episode-files'
const TRANSCRIPTS_DIR = './src/transcripts'
const episodeFiles = readdirSync(EPISODES_DIR).filter(f => f.endsWith('.mp3'))

for (const file of episodeFiles) {
  const num = file.match(/2GAB (\d+),/)?.[1]
  if (!num) continue

  const output = `${TRANSCRIPTS_DIR}/2gab-ep${num}-transcript.vtt`
  if (existsSync(output)) continue // don't overwrite existing transcripts

  console.log(`Transcribing episode ${num}...`)
  execFileSync('yap', ['transcribe', '--vtt', '-m', '65', '-o', output, `${EPISODES_DIR}/${file}`])
}
After running this script, we have a src/transcripts directory full of VTT files, one for each episode. Each VTT file is in the format 2gab-ep{num}-transcript.vtt, where {num} is the episode number.
Adding the transcript files to the site
Our next job is to add the transcript files to the site. Let’s define a permalink for each transcript file in a data directory file in the src/transcripts directory.
src/transcripts/transcripts.11tydata.js
export default {
  permalink (data) {
    const episode = data.page.fileSlug.match(/^2gab-ep(\d+)-/)?.[1]
    return `/${episode}/transcript.vtt`
  }
}
So if the page for episode 19 is at https://thesecondgreatandbountifulhumanempire.com/19/, the transcript file will be at https://thesecondgreatandbountifulhumanempire.com/19/transcript.vtt.
But defining permalink like that isn’t enough to get the transcript files to appear on the site. To get Eleventy to notice the files, in our Eleventy config file, we need to specify VTT as a custom template format and to tell Eleventy how to process the VTT files (by not changing them at all, as it happens).
eleventy.config.js
  eleventyConfig.addTemplateFormats('vtt')
  eleventyConfig.addExtension('vtt', {
    outputFileExtension: 'vtt',
    compile: async function (content, _data) {
      return () => content // returns the content unchanged
    }
  })
Making the transcript file data available to the templates
Now we need to make the transcript files available to the episode post templates. It’s time for another directory data file. In this file, we’ll define a computed property called transcriptPath that returns the path to the transcript file, and another computed property called transcriptData that contains the parsed transcript content.
In the code example below, the parseTranscriptContent function divides the transcript content into cues separated by two consecutive newlines, and then parses each cue using the --> symbol that specifies the start and end timestamps and introduces the text of the cue.
src/episode-posts.11tydata.js
import fs from 'node:fs'

function toSeconds (timestamp) {
  const [hh, mm, ss] = timestamp.split(':')
  return (parseInt(hh) * 3600) + (parseInt(mm) * 60) + parseFloat(ss)
}

function parseTranscriptContent (content) {
  return content
    .trim()
    .replace(/^WEBVTT.*\n/, '')
    .split(/\n\n+/) // split into blocks separated by two consecutive newlines
    .filter(block => block.includes('-->')) // filter out any blocks without a timestamp line
    .map(block => {
      const lines = block.split('\n')
      const timestampLine = lines.find(l => l.includes('-->'))
      const [start, end] = timestampLine.split(' --> ').map(toSeconds)
      const text = lines.slice(lines.indexOf(timestampLine) + 1).join(' ') // join the remaining lines to get the text
      return { start, end, text }
    })
    .filter(({ text }) => text) // remove any blocks without text
}

export default {
  eleventyComputed: {
    transcriptPath (data) {
      const episodeNumber = data.episode.episodeNumber
      if (!episodeNumber) return null

      const result = `./src/transcripts/2gab-ep${episodeNumber}-transcript.vtt`
      return fs.existsSync(result) ? result : null
    },
    transcriptData (data) {
      if (!data.transcriptPath) return null

      const transcriptContent = fs.readFileSync(data.transcriptPath, 'utf8')
      return parseTranscriptContent(transcriptContent)
    }
  }
}
So, now each episode post has a transcriptPath property which points to the transcript file, and a transcriptData property which contains the parsed transcript content. This content is in the form { start, end, text } where start and end are the timestamps in seconds, and text is the transcript text.
The transcript data is now available to the templates as {{ post.data.transcriptPath }} and {{ post.data.transcriptData }}. Let’s use them to add the transcript to the episode pages.
Displaying the transcripts
On every episode page, we have the episode title, some metadata, the blurb and an audio player (with some more metadata). These are defined in a partial called episode.liquid. Let’s add the transcript to that partial, just below the audio player and its caption.
<article class="podcast-episode">
{% if linkInTitle %}
<h1 class="podcast-episode-title"><a href="{{ post.url }}">{{ post.data.title }}</a></h1>
{% else %}
<h1 class="podcast-episode-title">{{ post.data.title }}</h1>
{% endif %}
<p class="podcast-episode-information">
<a href="/s{{ post.data.episode.seasonNumber }}">{{ seasonName }}</a>,
Episode {{ post.data.episode.episodeNumber }}<br>
{{ post.date | readableDate }}
</p>
{% if excerptOnly %}{{ post.data.excerpt }}{% else %}{{ post.content }}{% endif %}
<audio preload="metadata" controls src="{{ post.data.episode.url }}" type="audio/mp3"></audio>
<p class="caption">
Recorded on {{ post.data.recordingDate | readableDate }} ·
<a target="_blank" rel="noopener noreferrer" href="{{ post.data.episode.url }}">Download</a> ({{ post.data.episode.size | readableSize: 1 }})<br>
Subscribe:
{%- for subscription in post.data.podcast.subscriptions %}
{%- if not forloop.first %} ·{% endif %} <a href="{{ subscription.url }}">{{ subscription.name }}</a>
{% endfor -%}
</p>
+ {%- if post.data.transcriptData %}
+ <details class="transcript">
+ <summary>Transcript</summary>
+ <p>
+ {% for cue in post.data.transcriptData %}
+ <span class="cue" data-start="{{ cue.start }}" data-end="{{ cue.end }}">{{ cue.text }}</span>
+ {% endfor %}
+ </p>
+ </details>
+ {%- endif %}
</article>
The transcript now appears on the episode page in a <details> element at the bottom. The transcript comprises a series of <span class="cue"> elements. Each of these cues has a data-start and a data-end attribute: these are the timestamps for the start and end of each cue.
The problem with our transcript right now is that it’s just a massive block of text. yap and SpeechTranscriber don’t do any speaker identification, and the text isn’t divided into paragraphs. So let’s insert line breaks at the end of each sentence to make the transcript easier to read.
First we’ll define a custom filter called endsTheSentence that returns true if a given string ends with a sentence-ending punctuation mark.
eleventy.config.js
eleventyConfig.addFilter('endsTheSentence', text => /[.!?…]$/.test(text))And now we use that filter to insert <br> elements at the end of each sentence in the transcript.
episode.liquid
 {%- if post.data.transcriptData %}
 <details class="transcript">
   <summary>Transcript</summary>
  <p>
    {%- for cue in post.data.transcriptData %}
    <span class="cue" data-start="{{ cue.start }}" data-end="{{ cue.end }}">{{ cue.text }}</span>
    {%- if cue.text | endsTheSentence %}<br>{% endif %}
    {%- endfor -%}
  </p>
</details>
{%- endif %}
And here’s the HTML for the start of the transcript:
<span class="cue" data-start="0" data-end="3.18">Hello, dear listener, and welcome back to the 2nd great and</span>
<span class="cue" data-start="3.18" data-end="6.66">bountiful Human Empire, the only Doctor Who Flashcast, really</span>
<span class="cue" data-start="6.66" data-end="9.839">looking forward to just giving up work and having Colonel</span>
<span class="cue" data-start="9.839" data-end="11.279">Ibrahim's babies.</span><br>
Making the transcripts clickable
So we have a visible, readable transcript, but it’s still not interactive. To make it interactive, we’re going to need to add some JavaScript: we’ll do that by adding a custom element to the partial. We’ll call it <episode-player>; its job will be to attach behaviour to the <audio> element and to the transcript.
Put the opening tag for the <episode-player> element before the <audio> element, and the closing tag after the <details> element that contains the transcript.
And here’s the first part of the code for the <episode-player> custom element. When this element is connected to the DOM, it attaches click event listeners to the transcript cues, so that clicking on a cue sets the current time of the audio element to the start time of the cue.
class EpisodePlayer extends HTMLElement {
  connectedCallback () {
    const cues = this.querySelectorAll('.cue')
    const audioElement = this.querySelector('audio')

    if (cues.length == 0) return

    // Click to seek
    cues.forEach(cue => {
      cue.addEventListener('click', () => {
        audioElement.currentTime = parseFloat(cue.dataset.start)
        audioElement.play()
      })
    })
  }
}

customElements.define('episode-player', EpisodePlayer)
You might want to add some CSS to style the transcript cues to make them look more clickable.
episode-player {
  .cue {
    text-decoration: underline;
    cursor: pointer;
  }
}
One more step left to go.
Highlighting the current cue
When the audio is playing, we can highlight the part of the transcript that corresponds to the words currently being spoken. To make this possible, we need to give the audio element access to the transcript. We do this by adding a <track> element as a child of the <audio> element, like this:
episode.liquid
<audio preload="metadata" controls src="{{ post.data.episode.url }}" type="audio/mp3">
+ <track kind="captions" src="/{{ post.data.episode.episodeNumber }}/transcript.vtt" srclang="en">
</audio>
Now the HTMLTrackElement that corresponds to the <track> element on the page has a JavaScript property called track, which contains a TextTrack object. This object will emit cuechange events when the audio is playing; it also has an activeCues property that contains a list of the currently active cues.
Let’s add some code to the episode-player element so that it listens for these cuechange events, asks the TextTrack object for the current cue, and highlights the current cue on the page by adding an active class to the cue element.
class EpisodePlayer extends HTMLElement {
  connectedCallback () {
    const cues = this.querySelectorAll('.cue')
    const audioElement = this.querySelector('audio')
    const track = audioElement.querySelector('track')?.track
    if (cues.length == 0) return

    // Click to seek
    cues.forEach(cue => {
      cue.addEventListener('click', () => {
        audioElement.currentTime = parseFloat(cue.dataset.start)
        audioElement.play()
      })
    })

+   // Highlight active cue
+   if (track == null) return
+
+   track.mode = 'hidden'
+   track.addEventListener('cuechange', () => {
+     const activeCue = track.activeCues[0]
+     if (!activeCue) return

+     cues.forEach(cue => {
+       const isActive = parseFloat(cue.dataset.start) === activeCue.startTime
+       if (isActive) {
+         cue.classList.add('active')
+       } else {
+         cue.classList.remove('active')
+       }
+     })
+   })
  }
}
Finally, let’s add some CSS to style the active cue.
episode-player {
  .cue.active {
    color: var(--highlighted-text-color);
  }
}
Conclusion
And so we’re done. We now have an interactive transcript. You can click on it to play the corresponding part of the audio. And as the audio plays, the words being spoken are highlighted. You can see a transcript in action here.
By itself, the interactive transcript is a nice feature to have, but it can also be the basis of another, more useful feature. I’ve been working on using Pagefind to make my podcast websites searchable. But now that there are transcripts on my site, I can make the podcast episodes themselves searchable as well.
Stay tuned. I’ll let you know how I get on.